Do-it-yourself bookshelf
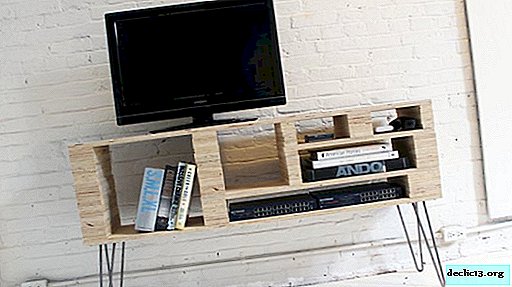
A bookshelf can be found in almost any home. Today, she is able not only to store various things, but to emphasize one or another design of the room. To make such an accessory is not difficult. Let's look at the simplest version of a bookshelf with our own hands.


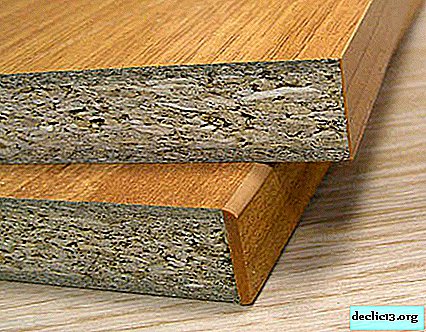
For the manufacture of a bookshelf you will need chipboards or joinery:
- for the side walls you will need two shields with a size of 230 by 320 mm;
- for the lower and upper walls - two panels measuring 230 by 900 mm;
- for the back wall, 4 mm plywood or hardboard with a size of 320 by 940 mm is perfect;
- as a fastener we use eight wooden spikes with a length of 35 mm and a diameter of 8 mm.
When marking, we use a joiner's square so that all the corners of the shelf are strictly under 90aboutotherwise, the product will get skewed and it will be difficult to insert glass into it. Therefore, after marking, you should check the angles again.
Preparing holes for mounting studs
On the side walls on the inner side (whose length is 230 mm) at a distance of 10 cm from the edge, draw a line. Then on this line we mark 2 points at a distance of 180 and 50 mm relative to the front edge. Similarly, mark the holes on the bottom wall of the part. On the lower and upper wall of the shelf, each side (whose length is 230 mm) should be divided in the middle by a longitudinal line. Then, two points of 50 and 180 mm should be noted on this line, measuring 900 mm from the side of the front edge. After applying the marking, we proceed to drilling. In the side walls of the shelf, the holes are drilled with a depth of 15 mm, and the lower and upper - 20 mm To make holes of equal depth, a piece of insulating tape can be wound around the drill at the required distance (15 mm and 20 mm) from the start of the drill. After drilling the holes, make a test assembly. The shelf is assembled without glue in order to check if the holes match. If the hole does not match, I paste the spike into it and cut it off with a sharp knife and mark it out again.
Glue the product
Now you can begin the process of gluing the product. For gluing the shelves, PVA glue is perfect: in the lower and upper walls of the hole we coat with glue, then we insert spikes coated with glue into them. They should enter tightly, they should be driven with a hammer with a light tapping. Then, similarly, we work with the side walls and collect the shelf. We check the angles with a square and fix the back wall with small nails (20 mm). Then we put the shelf on a flat surface and press it with a load. After the PVA glue dries (at least 2 hours), we fasten the back wall with screws (we can not remove the nails).
Shelf decoration
We proceed to the decorative decoration of the shelf. The edges of the bookshelf should be veneered. To do this, cut the veneer into strips several millimeters in length and wider than the edges. Then we grease the edge and strips of veneer with PVA glue and wait until it dries (in the dry state, PVA glue becomes transparent). Then we apply veneer to the edge and iron it with a heated iron. After gluing, the protruding veneer is carefully cut off with a file. We cover the assembled shelf with varnish using a cotton swab wrapped in a gauze napkin. Furniture nitrocellulose lacquer is best suited. With smooth but quick movements we apply varnish to the surface. After the first layer of varnish has dried, the surface should be sanded with sandpaper and varnished again, but now the varnish should be smashed more strongly - this will even out the previous layers and give them a glossy shine. If you want to install glass, you will need plastic runners (they can be purchased at a hardware store). A skid with a narrow side is installed at the bottom of the shelf, and with a wide one at the top. They are also attached with PVA glue and small nails.

